How to Iron a School Badge (Step-by-Step Guide)
School badges are a symbol of identity and pride for every student. Attaching them properly is crucial for a neat and lasting uniform. If you’re wondering how to iron a school badge safely and effectively, this step-by-step guide has you covered.
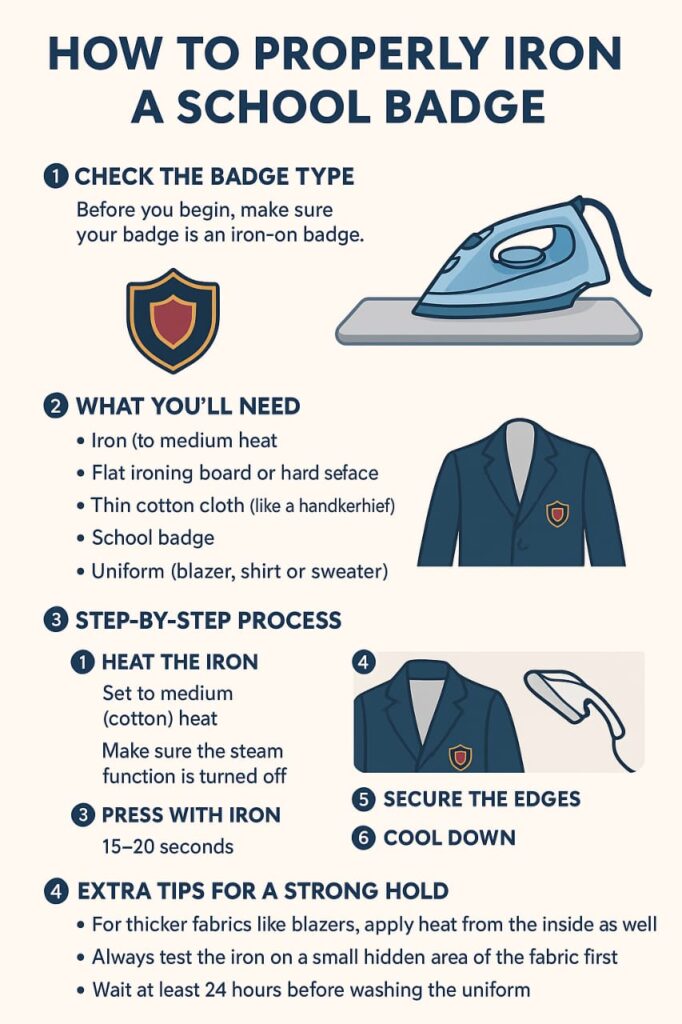
1. Check Your School Badge: Is It Iron-On?
Before you start, it’s crucial to confirm that your badge is an iron-on type. Not all badges are iron-on. Iron-on badges typically have a shiny adhesive backing that melts with heat, while sew-on badges require stitching. Using the correct method prevents fabric damage and ensures long-term durability. According to the Textile Research Journal (Elsevier, 2018), improper application of heat adhesives can weaken both the adhesive and the underlying fabric fibers.
2. What You’ll Need to Get Started
- An iron (with the steam function turned off)
- A flat, heat-resistant surface (an ironing board is ideal)
- A thin cotton cloth (a clean handkerchief or tea towel works well)
- The school badge
- The uniform item (blazer, shirt, or sweater).
3. Step-by-Step Process for Ironing the Badge
Step 1: Prepare the Iron Set your iron to a medium heat setting, typically the “cotton” or “wool” setting. Ensure the steam function is completely off, as steam can weaken the badge’s adhesive.
Step 2: Position the Badge Correctly Place the school badge on the uniform in its final position. Take a moment to double-check the alignment and placement. Once it’s ironed on, it will be very difficult to adjust.
Step 3: Cover and Protect Place the thin cotton cloth directly over the badge. This is a critical step that creates a protective barrier, preventing direct heat from damaging the badge or the uniform fabric.
Step 4: Apply Heat with Firm Pressure Press the hot iron down firmly on the cloth, directly over the badge. Hold it in place for 15-20 seconds. Do not slide the iron back and forth, as this can cause the badge to shift.
Step 5: Check and Re-Press if Needed Carefully lift the cloth and check the badge. If the edges are not fully adhered and are lifting, place the cloth back and press the iron for an additional 10-15 seconds.
Step 6: Allow to Cool and Set Let the school badge cool down completely before handling the uniform. The adhesive needs time to cure and form a strong bond. Avoid pulling or tugging at the badge until it is fully secure. Research from the International Journal of Clothing Science & Technology (2019) shows that cooling time is critical for heat-activated adhesives to fully crystallize and bond with fabric.
4. Pro Tips for a Long-Lasting Hold
- For thick fabrics: If you’re ironing onto a blazer or thick sweater, consider applying a second, brief press from the inside of the garment to ensure the heat penetrates all the way through.
- Test first: Always test the iron’s heat on a small, inconspicuous area of the uniform fabric to prevent any damage.
- Wait to wash: Wait at least 24 hours before washing the uniform to allow the adhesive to fully set and achieve its maximum strength.