Introduction: Why Choose DIY Event Badges?
Organizing an event, whether it’s a corporate conference, a hands-on workshop, or a community meet-up, often involves significant costs. Creating DIY event badges is one of the most fun, cost-effective, and personalized ways to elevate your attendee experience.
Forget generic, flimsy paper name tags. Making your own custom fabric badges adds a unique, high-quality touch that attendees will appreciate. This detailed, step-by-step guide will show you exactly how to make professional event badges at home or in the office without breaking your budget.
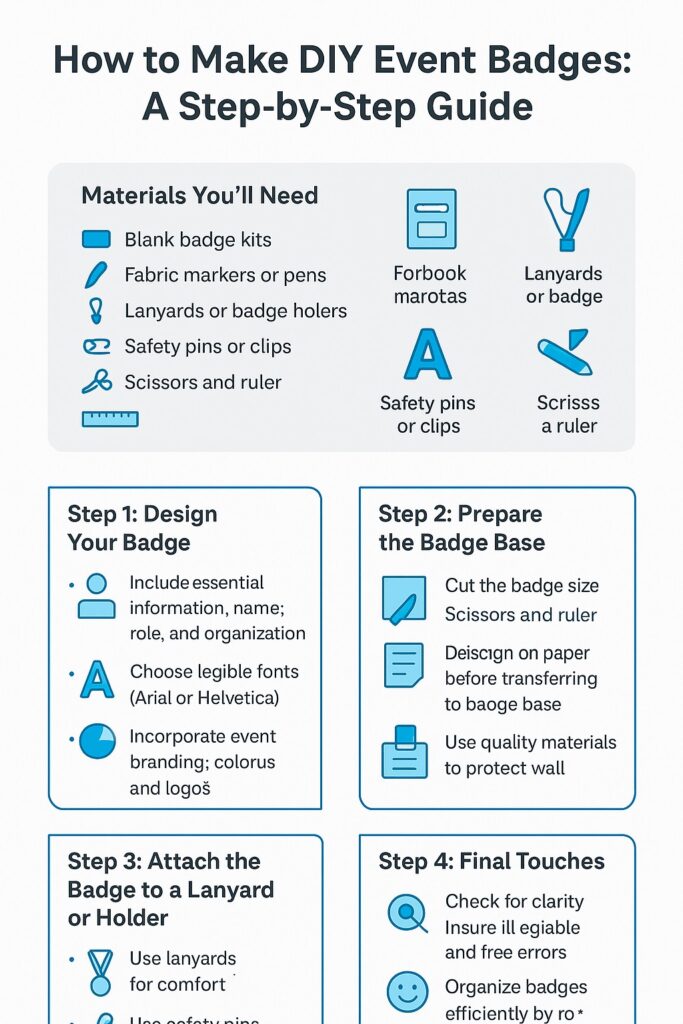
What You’ll Need to Make Custom Name Badges (Materials Checklist)
Gathering your supplies is the first step to making your own personalized event badges. You likely have many of these items already!
Step-by-Step Guide: How to Make Professional DIY Event Badges
Follow these simple steps to successfully create your batch of handmade event name tags.
Step 1: Strategize Your Custom Badge Design
A successful event badge must be readable from a distance. Before you touch any fabric, finalize your design and information hierarchy.
- Essential Text: Participant Name (largest and boldest font), Event Name, and Date.
- Optional Text: Role/Designation, Company, or a fun icebreaker question.
- Layout: Sketch or use a basic digital tool (like Canva or Word) to create a visual template. Consistency across all your badges is key for a polished, professional DIY look.
Step 2: Prepare Your Badge Base (The Fabric Foundation)
This step ensures your DIY fabric badges look crisp and neat.
- Cut the Fabric: Using your ruler, measure and cut your base material (cloth, felt, etc.) into your chosen shapes (rectangular, round, or custom die-cut).
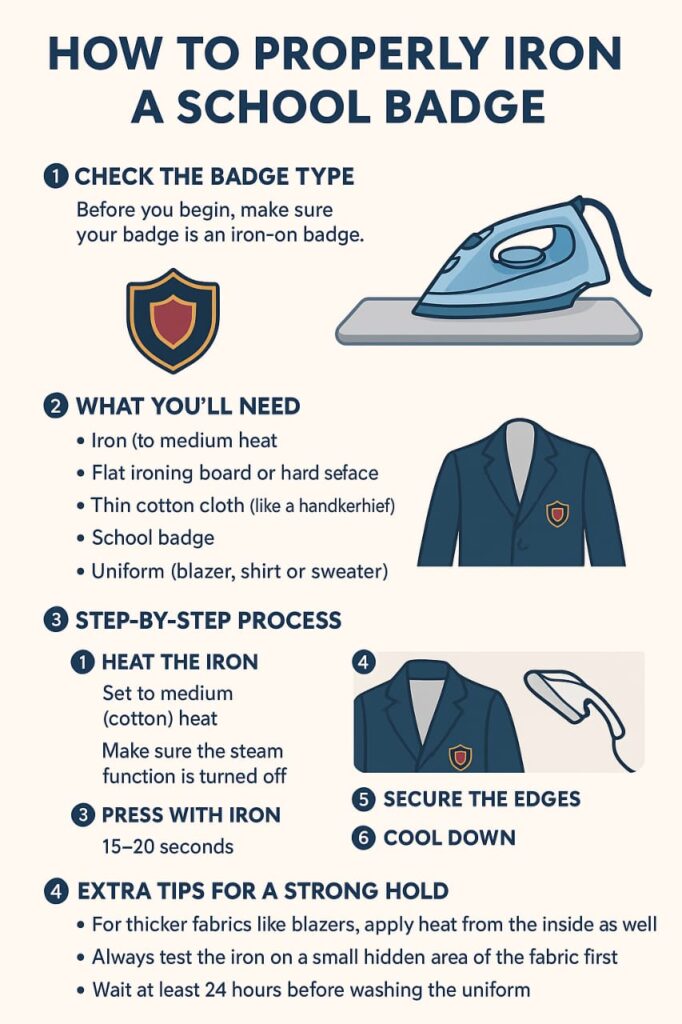
- Smooth Wrinkles: Iron any cotton or cloth fabric to ensure a perfectly smooth surface for drawing or writing. Tip: For super quick batches, pre-cut felt or embroidered badge blanks are a fantastic time-saver.
Step 3: Apply Your Personalized Design Elements
This is where your custom name badge comes to life. Focus on clarity over complexity.
- Fabric Markers/Pens: Use permanent, bleed-proof markers to write names and event details. Always use a clear, bold, high-contrast color (e.g., black on white fabric).
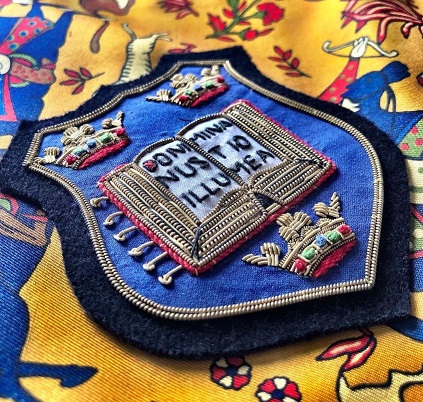
- Embroidery: For a highly premium and durable finish, hand-stitch or machine-embroider your logo or attendees’ names.
- Decorations: Use a strong fabric glue to attach small embellishments like beads or tiny ribbon strips.
Step 4: Attach the Wearable Fasteners (Pin, Lanyard, or Magnet)
A badge is only useful if it can be worn easily. Choose a method that suits your event type.
- Safety Pins: Sew or glue a standard safety pin or a bar pin onto the back of the badge base. Ensure the pin is positioned near the top-center so the badge hangs straight.
- Lanyards: Use a hole punch to create a clean, reinforced hole at the top center. Attach a lanyard clip or string through this hole.
- Magnetic Backings: Glue a magnet strip to the back for a high-end look that avoids damaging clothing (often preferred for corporate event name tags).
Step 5: Final Quality Check and Organization
The last step ensures a flawless presentation at your event.
- Inspect: Check for any smudges, visible glue residue, or loose threads on every homemade name tag. Touch up or discard any flawed pieces.
- Light Ironing: If using a cloth base, a final, light iron can help flatten the badge for a professional finish.
- Package: Sort the finished badges alphabetically or by attendee category (Speaker, VIP, General Attendee). Use small envelopes or a display tray for organized, stress-free distribution.
Pro Tips for Cost-Effective & Sustainable DIY Event Badges
To maximize savings and make your badges memorable, keep these tips in mind:
- Go Green: Opt for eco-friendly materials like recycled felt, burlap, or cotton scraps. These materials are cheap and align with a sustainability focus. Typical events generate nearly two kilograms of waste per attendee per day, with over 60% ending up in landfills.
- Bulk Templates: If you are making 50+ badges, create a physical template (a stencil) for cutting your shapes and an alignment grid for your text. This speeds up production and maintains uniformity.
- Color-Code Roles: Use different fabric colors or lanyard colors to instantly distinguish between attendees, speakers, volunteers, and staff. This facilitates networking and staff support.
- Personalize for VIPs: Spend a little extra time on a handful of badges for special guests or sponsors. A small, unique detail (like a hand-embroidered element) can make them feel truly valued.


